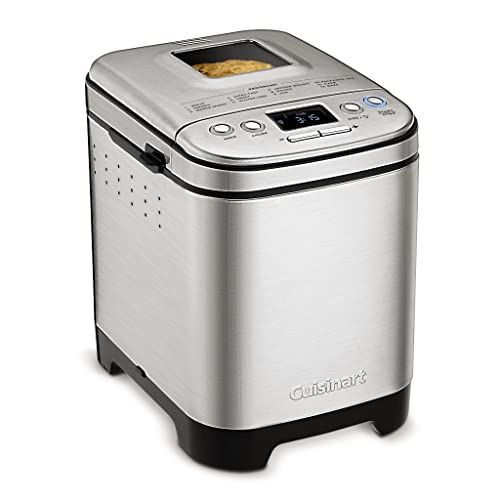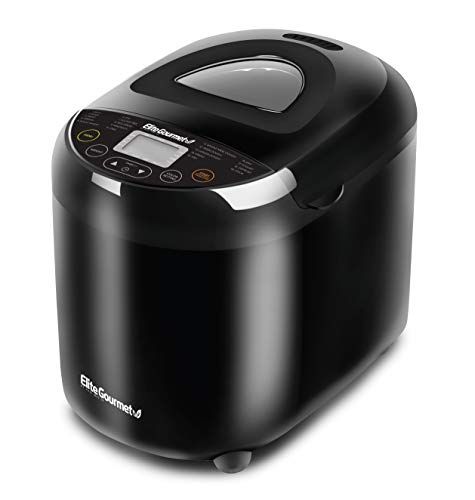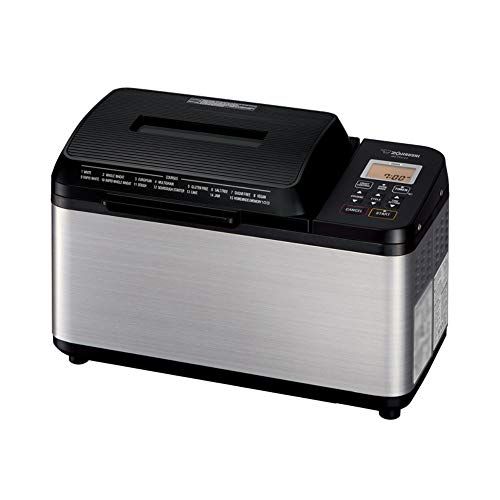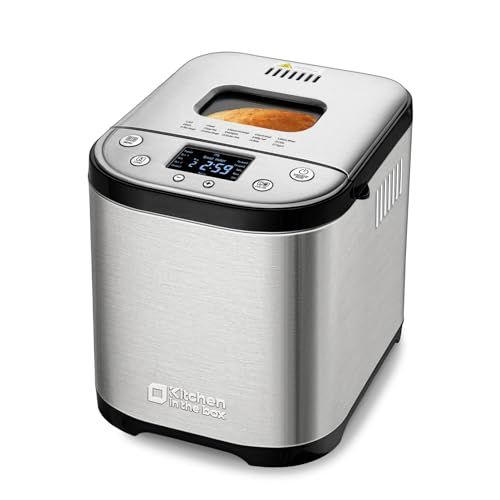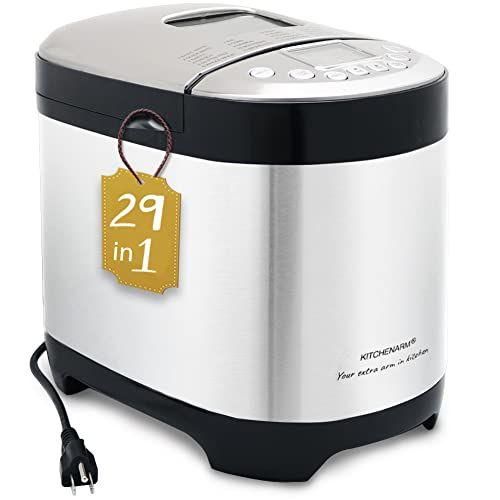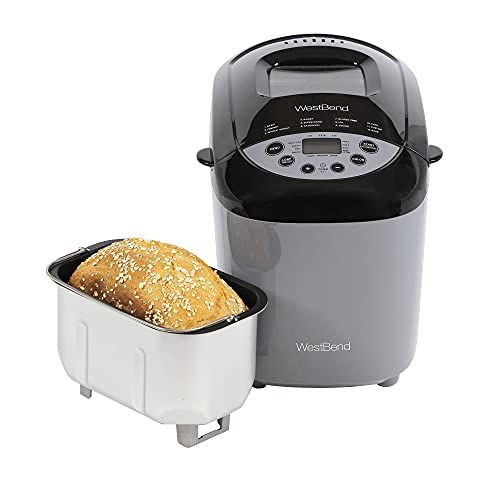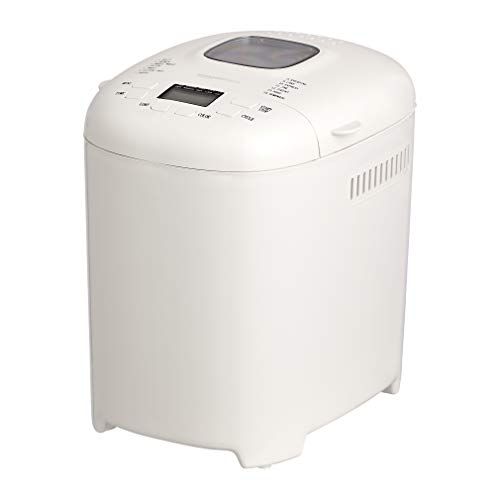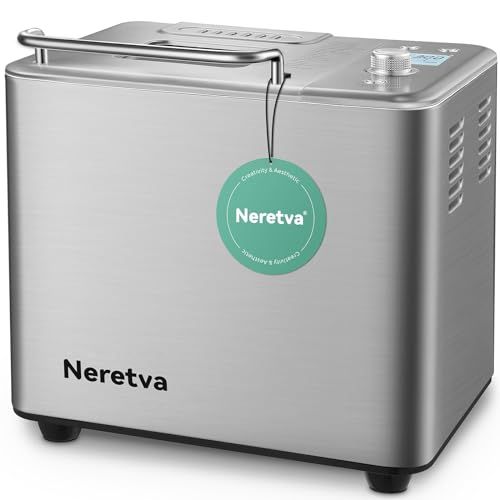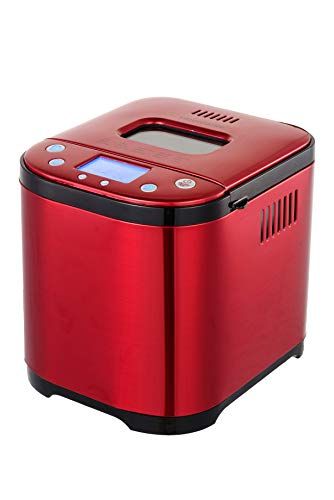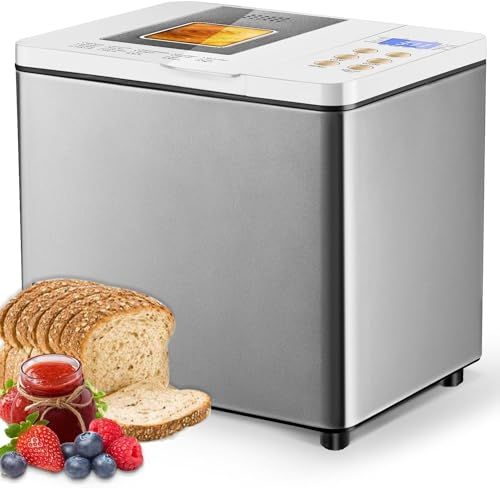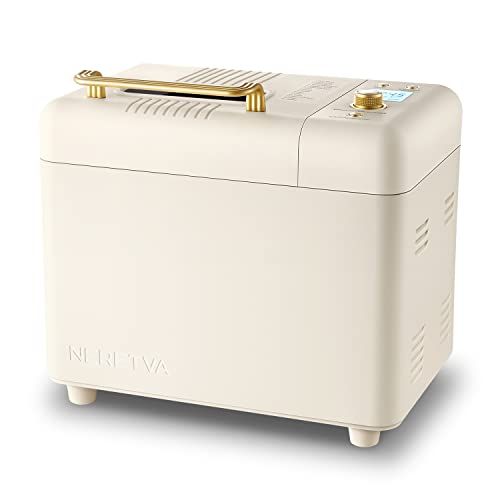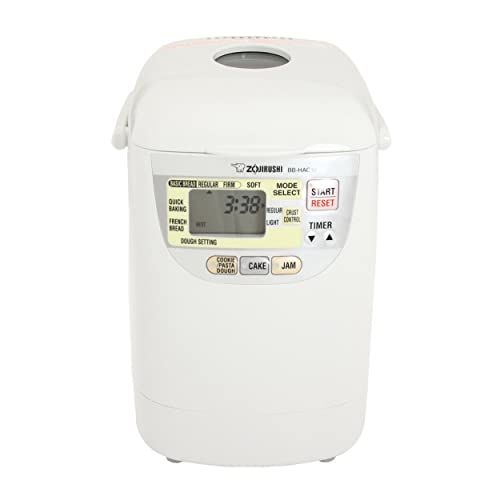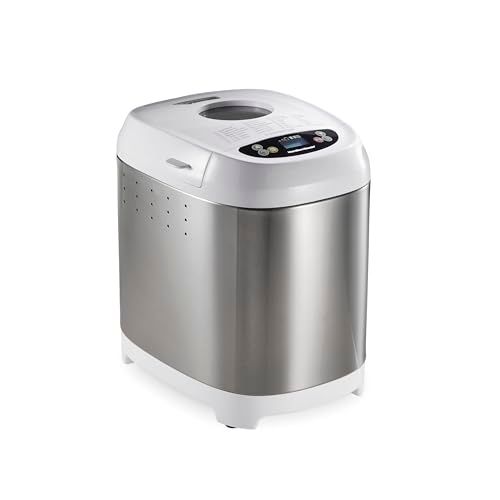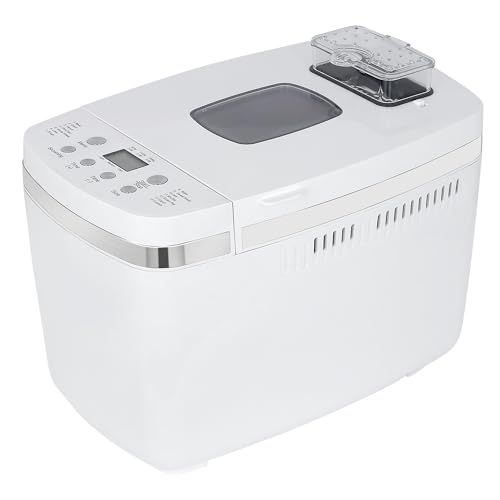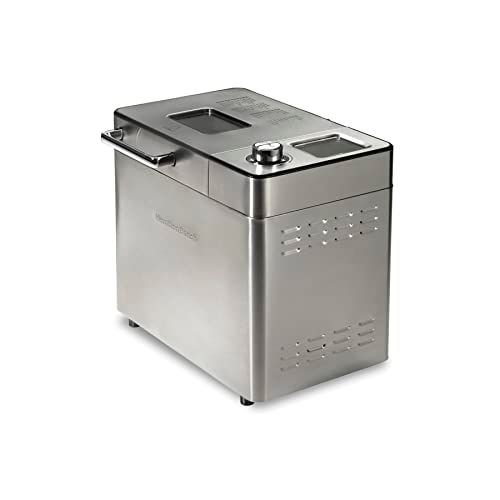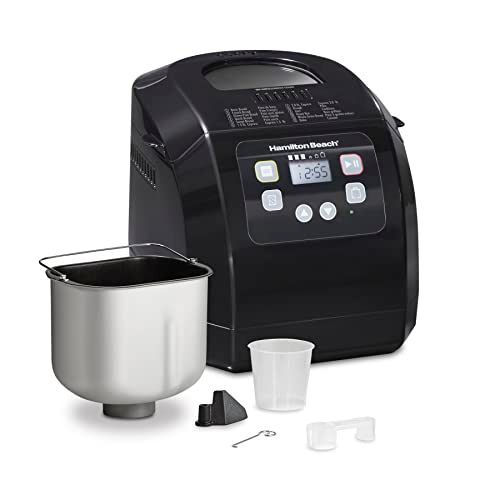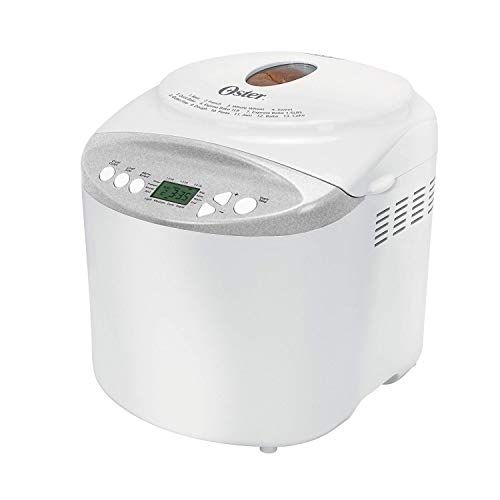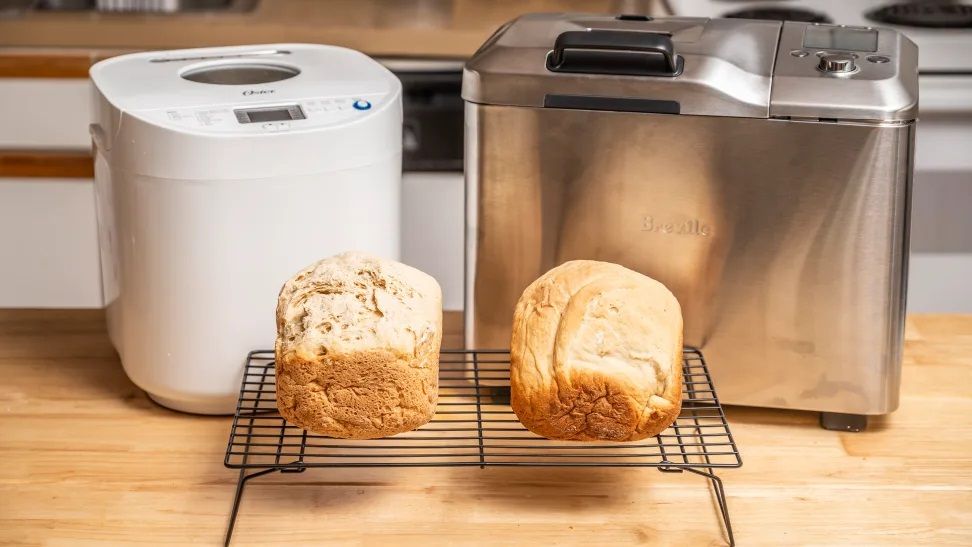
A bread machine is an electric countertop appliance that automates the breadmaking process, allowing anyone to easily bake fresh loaves of bread at home. Bread machines have become popular home appliances since they were first introduced in the 1980s, providing an effortless way for home cooks to make high-quality bread without needing professional skills.
The main benefit of a bread machine is convenience. After simply adding ingredients to the bread pan and selecting a cycle, the machine does the mixing, kneading, rising, and baking automatically. Most bread machines have settings for different loaf sizes and crust types, as well as options for quick breads, jams, doughs, and gluten-free recipes. This allows users to wake up to the smell of freshly baked bread or have a warm loaf ready by dinnertime with minimal hands-on work. Making bread from scratch can be time consuming and requires technique, but a bread machine simplifies the process into just a few easy steps.
Another advantage of bread machines is the ability to customize ingredients and flavors. Home bakers can experiment with recipes to create breads such as whole wheat, sourdough, fruit and nut, cheese, and herb varieties. The dough setting can be used to make pizza crusts, rolls, shaped loaves, and more. With a bread machine, it's easy to avoid preservatives by controlling the ingredients that go into your homemade loaves. The results taste far superior to store-bought bread.
For those seeking the experience of fresh bread with little effort, bread machines deliver satisfying results and homemade goodness. They have become kitchen staples for many home cooks.
How Bread Machines Work
Bread machines automate the breadmaking process from start to finish. They combine all the steps - mixing, kneading, rising, and baking - in one machine.
The bread machine has a bread pan that you add ingredients to, usually in the order listed in the recipe. Once you add the ingredients and select the appropriate settings, the machine takes over.
First, the mixing blade combines the ingredients together. It mixes for a specified amount of time to fully incorporate the ingredients.
Next is the kneading stage. The machine kneads and punches down the dough repeatedly to develop the gluten. This gives the bread structure. The kneading time can vary based on the dough type.
After kneading comes the first rise. The dough is allowed to rise undisturbed inside the machine. This allows the yeast to produce gas and give the dough volume. The rising time depends on the dough but is usually around an hour.
Once the first rise is complete, the machine punches down the dough before the second rise. This degasses it and redistributes the yeast evenly.
The second rise happens next. This gives the dough additional volume before baking. The second rise may be shorter than the first.
Finally, the baking stage begins. The machine bakes the bread inside its chamber using heating elements. Baking gives the bread its final crust and color. It takes 30-60 minutes based on the settings and loaf size.
At the end, the bread machine beeps to indicate the bread is fully baked. The loaf can then be removed immediately for cooling before slicing.
Types of Bread Machines
Bread machines come in two main styles - horizontal and vertical.
Horizontal bread machines have a pan that sits horizontally. The paddle moves back and forth to mix and knead the dough. These tend to be more compact and better for smaller spaces.
Vertical bread machines have a vertical pan. The paddle moves around the edges to mix and knead. These take up more counter space but can make larger loaves.
Bread machines also vary in their features and settings:
Basic bread machines have settings for just a few types of bread like white, whole wheat, and French. They have simple controls and are very easy to use.
Advanced bread machines offer settings for artisan breads, gluten-free bread, jam, pasta, and more. They allow customization of bake times and temperatures. Some have dual paddles for better mixing and fruit and nut dispensers.
When choosing between basic and advanced, consider how often you'll use the machine and what types of bread you want to make. Advanced machines provide more versatility but basic models are fine for simpler needs.
Choosing a Bread Machine
When selecting a bread machine, there are a few key factors to consider:
Size
Bread machines come in different sizes, usually measured in pound loaf capacity. Common sizes are 1lb, 1.5lb, and 2lb machines. Think about how much bread you plan to bake - larger families may prefer a 2lb machine while a 1-1.5lb size is good for 1-2 people. You can make smaller loaves in a larger machine, but not vice versa.
Features
Basic bread machines have settings for different cycles like basic, French, sweet, etc. Higher end models have more advanced features like dual kneading paddles, gluten-free settings, fruit and nut dispensers, and convection baking. Decide which features are useful based on your baking needs.
Price
Bread machines range from $50 on the low end to $250+ for high end models. In general, more features come with a higher price tag. Good mid-range models with useful functions can be found for $100-150. Paying more for extra features like convection baking may be worthwhile for avid bakers.
Consider your budget, baking frequency, and types of bread you want to make. This will help determine what size and level of features you need. Reading reviews can also help narrow down quality brands and models in your price range.
Bread Machine Recipes
Bread machines can make a wide variety of bread recipes beyond just basic white bread. Here are some of the common types of recipes people make in their bread machines:
Yeast Breads
Classic white bread - The most common recipe, just flour, yeast, salt, sugar, oil and water. White bread comes out light and fluffy.
Whole wheat bread - For a healthier option, you can use whole wheat flour. May be denser than white bread. Check your machine's capacity for whole grains.
French bread - For a crustier artisan-style loaf, use a French bread setting with a longer second rise cycle. Omit sugar and oil for authentic flavor.
Rye bread - Add some rye flour for a heartier, darker loaf. Works well with caraway seeds.
Challah - A sweet, eggy, braided Jewish bread. May require multiple cycles to braid and bake.
Quick Breads
Banana bread - A popular use for overripe bananas. Most machines have a quick bread cycle.
Beer bread - No yeast required. Just self-rising flour, beer and seasonings.
Irish soda bread - Buttermilk gives great flavor and rise. Raisins or currants optional.
Cornbread - Savory and delicious, great for serving with chili. Use cornmeal and a quick bread cycle.
Gluten-Free
Gluten-free white bread - Use an all-purpose gluten-free flour blend. Check labels for certified gluten-free.
Gluten-free pumpkin bread - Pumpkin puree adds moisture to dense gluten-free dough.
Gluten-free beer bread - Most gluten-free flour blends work well in this simple recipe.
Gluten-free cornbread - Naturally gluten-free when using cornmeal. Just avoid wheat flour.
Bread machines open up a whole world of bread possibilities with just the press of a button. Be adventurous and try out some new bread flavors!
Tips for Using a Bread Machine
Using a bread machine takes some practice to master. Here are some tips to help you get the most out of your bread machine:
Carefully measure all ingredients. The amounts must be precise, so use measuring cups and spoons, not "eyeballing" amounts. Even small variations can impact the bread.
Pay attention to order when adding ingredients. Usually you'll add wet ingredients first, then dry ones. Refer to your manual.
Make sure yeast and salt don't touch or mix directly. This can kill the yeast. Add salt to dry ingredients first, then make a well for the yeast.
Monitor the kneading cycle. Some machines have a window so you can watch. Make sure the dough is forming into a smooth ball. If not, you may need to add more flour or liquid.
Don't open the lid during baking. This lets heat escape and can cause the bread to collapse. Wait until the full cycle finishes.
Clean your bread machine after each use. Remove the bread pan and wash it and the kneading blade in hot soapy water. Wipe down the machine housing.
Let the bread rest before slicing. At least 15-30 minutes cooling time allows the loaf to firm up for cleaner slicing.
Store leftover bread tightly wrapped at room temperature up to 3 days, or slice and freeze it. Bread stales quickly due to lack of preservatives.
Following these tips will help you make perfect loaves every time with your bread machine! Let the appliance do most of the work while you enjoy the delicious homemade results.
Common Bread Machine Problems
Using a bread machine can seem straightforward, but there are some common issues that can occur. Here are some of the most frequent problems and how to avoid them:
Overmixing
This happens when the dough is kneaded for too long. It can result in the gluten breaking down, leaving a dense loaf with poor rise. Check your machine's settings and reduce the kneading time if needed. Overmixing is more likely with high protein flours that develop gluten easily.
Undermixing
If the dough isn't kneaded enough, it won't develop the gluten structure needed to trap gas bubbles and rise. Loaves may be squat and dense. Increase kneading time in small increments until you get a good rise. Stickier, wetter doughs need more kneading.
Incorrect Measurements
Precision is key for bread recipes. Too much or too little of any one ingredient can throw the chemistry off. Always measure flour correctly by spooning it into a measuring cup, then leveling off. Check yeast is in date and measure it accurately. Follow liquid measurements closely. Double check quantities to avoid issues.
Bread Machine Maintenance
Proper maintenance is key to keeping your bread machine running smoothly for years to come. Here are some tips:
Cleaning
After each use, unplug the machine and allow it to cool completely before cleaning. Wipe down the outside with a damp cloth to remove any flour or drips.
Never submerge the bread machine in water or wash it in the dishwasher. This can damage the electrical components.
Clean the bread pan and kneading paddle with warm soapy water. A soft brush can help remove any baked on bits. Rinse and dry thoroughly.
Occasionally wipe down the inside of the machine with a damp cloth to keep it clean. Pay special attention to the heating element area.
Refer to your manual for any additional cleaning recommendations specific to your model.
Storage
Allow all parts to dry fully before storage to prevent mold growth.
Store the bread pan and kneading paddle inside the machine. Close the lid.
Store in a dry location off the floor. Avoid putting other items on top of it.
Replacing Parts
Kneading paddles and bread pans wear out over time. Check your manual for part numbers and ordering information.
Replace the kneading paddle if it becomes bent or damaged. Small tears in the bread pan won't affect performance.
Periodically inspect the heating element for signs of damage. Have it replaced by a technician if needed.
Refer to your manual for when to replace the drive belt or other parts.
Proper cleaning, storage, and part replacement will keep your bread machine running like new for many loaves to come. Be sure to refer to the manufacturer's recommendations as well.
Bread Machine Alternatives
While bread machines provide convenience and ease for home bakers, there are alternatives to consider if you don't want to purchase a bread machine or are looking for more versatility.
Hand Kneading
The traditional method of breadmaking involves kneading dough by hand. This allows you to control the process and texture of the dough. Hand kneading takes more time and effort but can be rewarding for an artisanal loaf. You'll need to knead for 10-15 minutes to properly develop gluten. It takes practice to learn the feel of properly kneaded dough.
Bread Makers
Stand mixers like those from KitchenAid include a bread hook attachment for kneading dough. This allows you to knead dough while letting the mixer do the work. Stand mixers can handle larger batches of dough than typical bread machines. You get more control than a bread machine while still having the mixer do the kneading.
Proofing Baskets
Also called brotforms or bannetons, proofing baskets are wicker rising baskets used for artisan-style loaves. After kneading, the dough goes into a proofing basket to rise before baking. The baskets help shape the dough and provide a textured crust. Proofing baskets allow you to make artisanal bread without a bread machine.
Conclusion
Bread machines can be a convenient and useful appliance for home bakers. They automate the breadmaking process, allowing you to simply add ingredients and press start. After a few hours, you'll have freshly baked bread ready to enjoy.
Some key benefits of bread machines include:
Convenience - Bread machines do the mixing, kneading, rising, and baking for you. You simply add ingredients and press start. This saves a lot of hands-on time compared to making bread from scratch.
Consistent results - Bread machines take the guesswork out of breadmaking. Following a recipe will lead to consistent loaves each time. The machines control timing, temperature, and kneading - things that can vary when making bread by hand.
Variety - Many bread machines can make different types of bread like white, whole wheat, fruit and nut, gluten-free, and more. Some also have settings for jam, pizza dough, pasta dough, and cakes.
Customization - You can customize loaf sizes and crust types. Ingredients can also be adjusted to create your own recipes. Things like herbs, olives, bacon, and cheeses can elevate basic bread.
Fresh bread aroma - There's nothing like the smell of freshly baked bread! Bread machines let you enjoy that aroma from your own kitchen.
In summary, bread machines are versatile appliances that can simplify homemade bread baking for any level of home cook. They make the process automatic while still allowing for creativity and customization with recipes. Consider getting one if you love homemade bread but don't have the time or patience for traditional bread baking.
Bread Machines comparison
 |  | 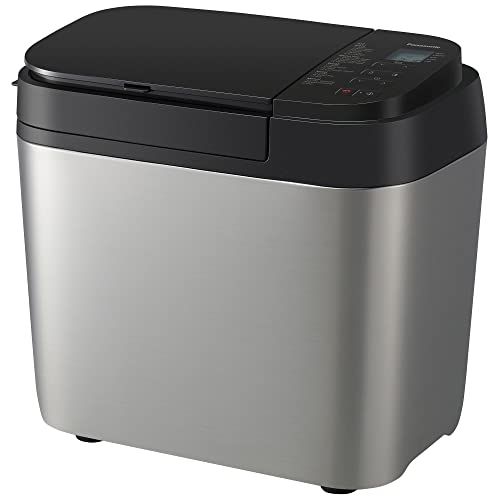 | 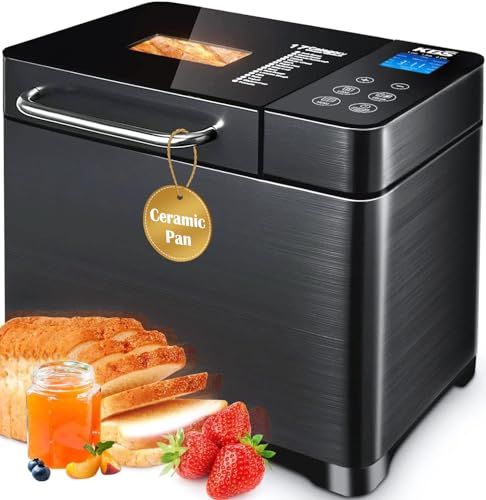 | 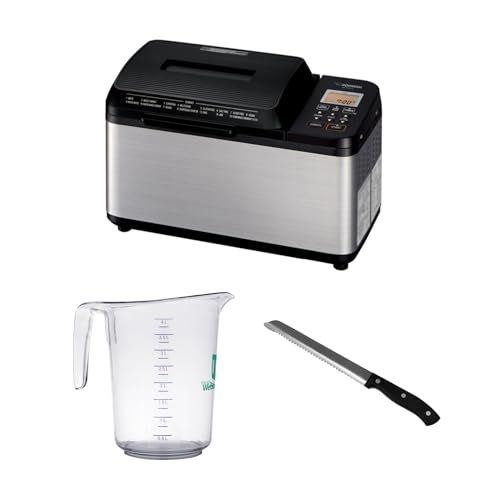 | |
|---|---|---|---|---|---|
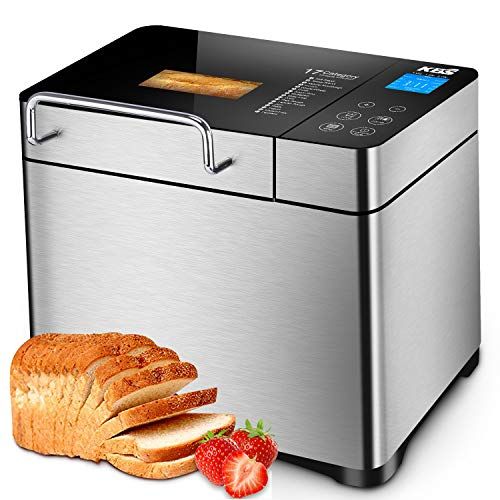
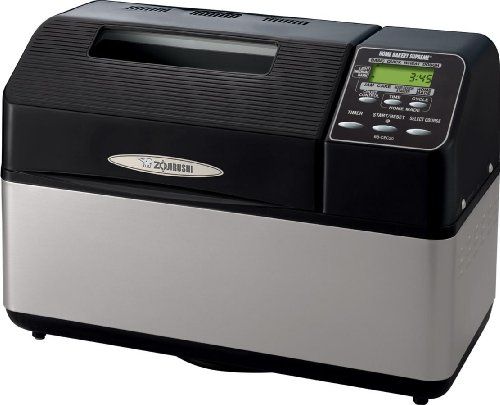
| Model | KBS MBF-010 | Zojirushi BB-CEC20 | Panasonic SD-R2550 | KBS MBF-011 | Zojirushi BB PDC20BA |
| Brand | KBS | Zojirushi | Panasonic | KBS | - |
| Material: Stainless Steel | - | Capacity 2 Pounds | - | - | - |
| Manufacturer | - | Zojirushi | Panasonic | - | Zojirushi |
| Product Dimensions | 15.7"D x 11"W x 16.1"H | 9.63"D x 17"W x 12.2"H | 9.9"D x 16"W x 14.3"H | 9.8"D x 13.6"W x 12.2"H | - |
| Product Care Instructions | Dishwasher Safe | Hand Wash Only | Hand Wash Only | Dishwasher Safe | - |
| Item Model Number | MBF-010 | BB-CEC20 | SD-R2550 | MBF-011 | BB PDC20BA |
| Colour | Fully Stainless Steel | Black | Stainless steel look | Stainless Steel | - |
| Wattage | 710 watts | 700 watts | 550 watts | 710 watts | - |
| Country of Origin | - | China | - | - | - |
FAQ
What is a bread machine and how does it work?
A bread machine is a specialized kitchen appliance designed to automate the bread-making process. It combines the functions of mixing, kneading, rising, and baking into one standalone unit. Users simply add the ingredients: flour, water, yeast, salt, and other additives, into the bread pan, select the appropriate program based on the type of bread they wish to make, and start the machine. The machine then goes through the necessary cycles to produce freshly baked bread. Most models also include features like crust color control and timers to start the baking process at a later time.
How much does a typical bread machine cost?
Prices for bread machines vary depending on features, brand, and capacity. Basic models can start as low as $50 USD, suitable for those who are new to bread making. Mid-range models are priced between $100 and $200 USD, offering more features such as different loaf sizes and settings for various types of bread. Premium models can cost up to $300 USD or more, equipped with advanced features like artisan dough programming, additional heating elements for even baking, and smart connectivity for remote control.
Can I make different types of bread in a bread machine?
Yes, bread machines are versatile appliances that can handle a wide range of bread types, from basic white and whole wheat breads to more specialized options like French bread, gluten-free bread, and sweet breads. Many machines come with preset programs to simplify the process of making these different types of bread. Additionally, some models include settings for other dough-based goods like pizza dough, cakes, and even jams.
What are the key features to look for in a bread machine?
When shopping for a bread machine, consider the following features: multiple bread and crust color settings, a programmable timer, a viewing window to monitor the baking process, and a "keep warm" function to maintain freshness after baking. Advanced features might include customizable settings for recipe adjustments, automatic ingredient dispensers for nuts and fruits, and kneading paddles that retract before baking to minimize the hole at the bottom of the baked loaf.
Are bread machines easy to clean?
Cleaning a bread machine is generally straightforward. The bread pan and kneading paddles are usually coated with a non-stick material, making them easy to clean with warm, soapy water. It's important to remove these parts after each use and clean them thoroughly to prevent dough buildup. The exterior of the machine can be wiped down with a damp cloth.
How long does it take to bake a loaf of bread in a bread machine?
The duration of the baking process in a bread machine can vary based on the specific recipe and machine settings. Generally, it takes about 3 to 4 hours to bake a standard loaf from start to finish using the basic cycle. Some machines also offer a rapid bake feature that can produce bread in about an hour, though the results may not be as consistent as the longer cycles.
Can I use regular bread recipes in a bread machine?
While traditional bread recipes can be adapted for use in a bread machine, modifications are often necessary. The key adjustments usually involve reducing the recipe size to fit the machine's capacity and altering the order in which ingredients are added, with liquids typically placed first, followed by dry ingredients, and yeast last to avoid premature activation.
What size loaves can I make with a bread machine?
Bread machines typically offer the ability to bake loaves in several sizes, ranging from 1 pound to 2.5 pounds. It's crucial to select a size that your machine can accommodate to ensure even mixing and baking.
Is a bread machine energy efficient compared to traditional baking?
Using a bread machine is often more energy-efficient than using a conventional oven. Bread machines are designed to be compact and require less energy to reach and maintain the necessary baking temperatures. Additionally, the contained space and shorter heating period reduce energy consumption compared to heating a larger oven.
Where can I find recipes specifically for bread machines?
Bread machine recipes can be found in various sources, including the user manual that accompanies the appliance, dedicated bread machine cookbooks, and online culinary websites. These recipes are tailored to the specific functionalities and limitations of bread machines, ensuring optimal results.
